My blog has moved!

You will be automatically redirected to the new address. If that does not occur, visit
https://usustudentspousesclub.wordpress.com/
and update your bookmarks.

May 15, 2014

Thai Red Curry Fried Rice by Nana

Today we are excited to have another wonderful recipe from Nana: Thai Red Curry Fried Rice
I love to make fried rice and fried noodle because they are so easy to pack for school and work.


If I were in China my friends would say not to eat too much fried rice, because it’s too much heat. So let me tell you why typical Chinese people drink so much green tea WITH THEIR MEALS. Yes, and it could be almost every meal. In China, we believe food can bring the balance to your body, between heat and cool. So all kinds of food ingredients, vegetable, fruit, herb medicine and even the ways of cooking have been divided into 3 kinds of categories: HEAT food, COOL food, and neither heat nor cool food. For example, watermelon and most vegetable are considered of COOL, rice (neither cool nor heat). Of cause, chili pepper is heat food, but beef and lamb are both considered as HEAT food. That’s why so much Chinese friend meat dishes also have vegetables inside, which aims to get the balance of food. Either deep fried or pan fried with oil have been considered as HEAT, so you can tell that most of fired dishes bring too much heat. Green tea has name for being healthy and also COOL, so drinking tea during or after the meal is the typical Chinese way.

 Let’s come back to the fried rice. I got the Thai red curry paste from Whole Food., You can also use green curry paste or yellow curry paste to replace the red curry here. I made the green curry fried rice before the red curry one. It’s too bland though, so I go with red curry now.

 The ingredients (serves 4): 3 cup of cooked rice, 1 vegetable pepper (I used half red and half yellow in the following picture), 6 white mushrooms, about 8 baby carrots, 10 shrimp1, 2 eggs, beans (as much as you like), 3 tablespoon of coconut milk (optional), 2 tablespoon vegetable oil (use coconut oil if you have it. It is the best for fried rice ;-)) and 1 teaspoon of salt (the curry paste already have salt, so you have to tastes it if it’s salty enough before you add the additional salt)


Step 1. Dice the vegetables you want to add in your fried rice, like following picture.


Step 2. Fry rice with beaten egg. TIPs: I know a lot of people have been told that if you want to fry rice, the rice has to be cooked COLD rice. Actually that is not very true. We usually use cooked cold rice, because it is relatively dry and hard, so it won’t be clumpy when you stair fry with other either vegetable or meat. So that means you can still use WARM cooked rice but it has to be dry. I will show you how to make it.
I added 1-tablespoon vegetable oil, and add rice with over medium heat. I beat two eggs, and pour the egg to the rice, and gently stair, until well mixed (the left picture above). When the cooked egg covers each grain of rice, it will become dry, you could tell when there’s less reflection from the rice when you stair (the right picture above). Put the rice in a big bowl when it cook, and then you can start step 3.

 Step 3. Cook red curry paste with the vegetables. Add 1 tablespoon of vegetable oil over medium heat, and then put a whole package of red curry paste. Next add 3 tablespoons of coconut milk, and then quickly add chopped baby carrots and shrimp. Stir for 5 minutes and move to Step 4. 


Step 4. Add the remaining vegetables, and stir fry for another 5 minutes. When I mention stir fry, you can just stir it and leave for 5 minutes ;-). Please taste it before you move to Step 5. You want it a bit more salty than your regular food, because you’re going to add rice later ;-).


Step 5. Add the rice to the cooked red curry and vegetables. Gently stir in rice with it until well mixed.


Step 6. Serve your delicious fried rice.
I know the shrimp with tail does not look appetizing. It’s just that my hubby is a vegetarian and sometimes I sneakily add the whole shrimp so I can easily pick up the whole thing ;-).

 The rice is so delicious, because I cooked it with egg in the beginning (Step 2), which helps it gain all the flavors from red curry and other vegetables. I hope you will like the recipe. If you want to know how to cook the best white rice, please leave the comments to me. I’ve been cooking all different kinds of white rice, on open fire, gas, electronic stove etc., since I was five (not joking ;-P), so I guess I will be able to answer them.


Labels:

May 5, 2014

Authentic Chinese Dish by Nana


Most simple but delicious Chinese food: Fried Egg with Tomato.

I heard too many comments from my friends that Chinese food in the restaurants is too salty and oily. The way to understand it could be: 1) The fried part of vegetable/meat usually gains more flavor from other ingredients in the dish; so that could potentially bring 2) more appetite from the customers, then you spend more money on the dishes--- very logical ^.^. BUT it’s not very healthy. When we talk about healthy Chinese food I normally consume, they must be home-cooked dishes, which often cook in low-heat oil and less fancy but original and healthier ingredients.

So today, I am going present you a very simple but authentic Chinese fried. It’s so popular that every Chinese kid can make the dish. If someone in China claims that they can cook, and they list this dish as the first ‘can-cook’ dish, we usually tease about that. Because this is must the first dish you learn. However, once you could cook this dish, you will be able to cook hundreds of simple and authentic Chinese fried dishes.


Ingredients for fried egg with tomato (serves 2 people): 3 eggs, 2 tomatoes, 1 teaspoon salt, 2 tablespoon vegetable oil (or any kind of oil), 1 tablespoon soy sauce (optional), 1 green onion (optional), 2 cloves garlic (optional), 3 dry chili papers(optional).

(You only need to prepare the ingredients from the picture, and just oil and salt in addition)


Step 1: Cut the tomato and beat the egg (add 1 tablespoon soy sauce to the egg and mix it well with egg);
Step 2: Fry the egg with 1-tablespoon vegetable oil with over-medium heat. Take the egg out in a bow for step 4.

Step 3: To fry diced garlic and chili peppers with over-medium heat. You only need 10 seconds to fry, which aims to get the garlic and chili pepper flavor and you never want them over cook, remember? It is not very healthy to over cook the oil, and the over cooked garlic and chili peppers bring the unpleasant smell to your kitchen ;-). Please quickly add the tomato and stir to mix the garlic and chili pepper with tomato. Add 1 teaspoon salt and taste it. If you like more salt you could add it more, and if you like it a bit sweet, you could add 2 teaspoon sugar.

Step 4. Add the fried egg to the pan and stir fry with tomato. You could use your spoon or spatula to cut the egg to the shape and size you like it your dish. I prefer small pieces since they can get more flavor from tomato fry.

Step 5: Taste your fry, to see if it’s good. Add more salt or soy sauce, to make it better to your taste, and then you can serve it.


More authentic Chinese from this dish: If you add cooked rice, you will make egg-tomato fried rice, if you add cooked noodle, then it is egg-tomato fried noodle. What a magical trick!!!!

With the step 3, fry diced garlic and chili pepper with 1 tablespoon oil and you could cook hundreds of authentic Chinese vegetable fry.

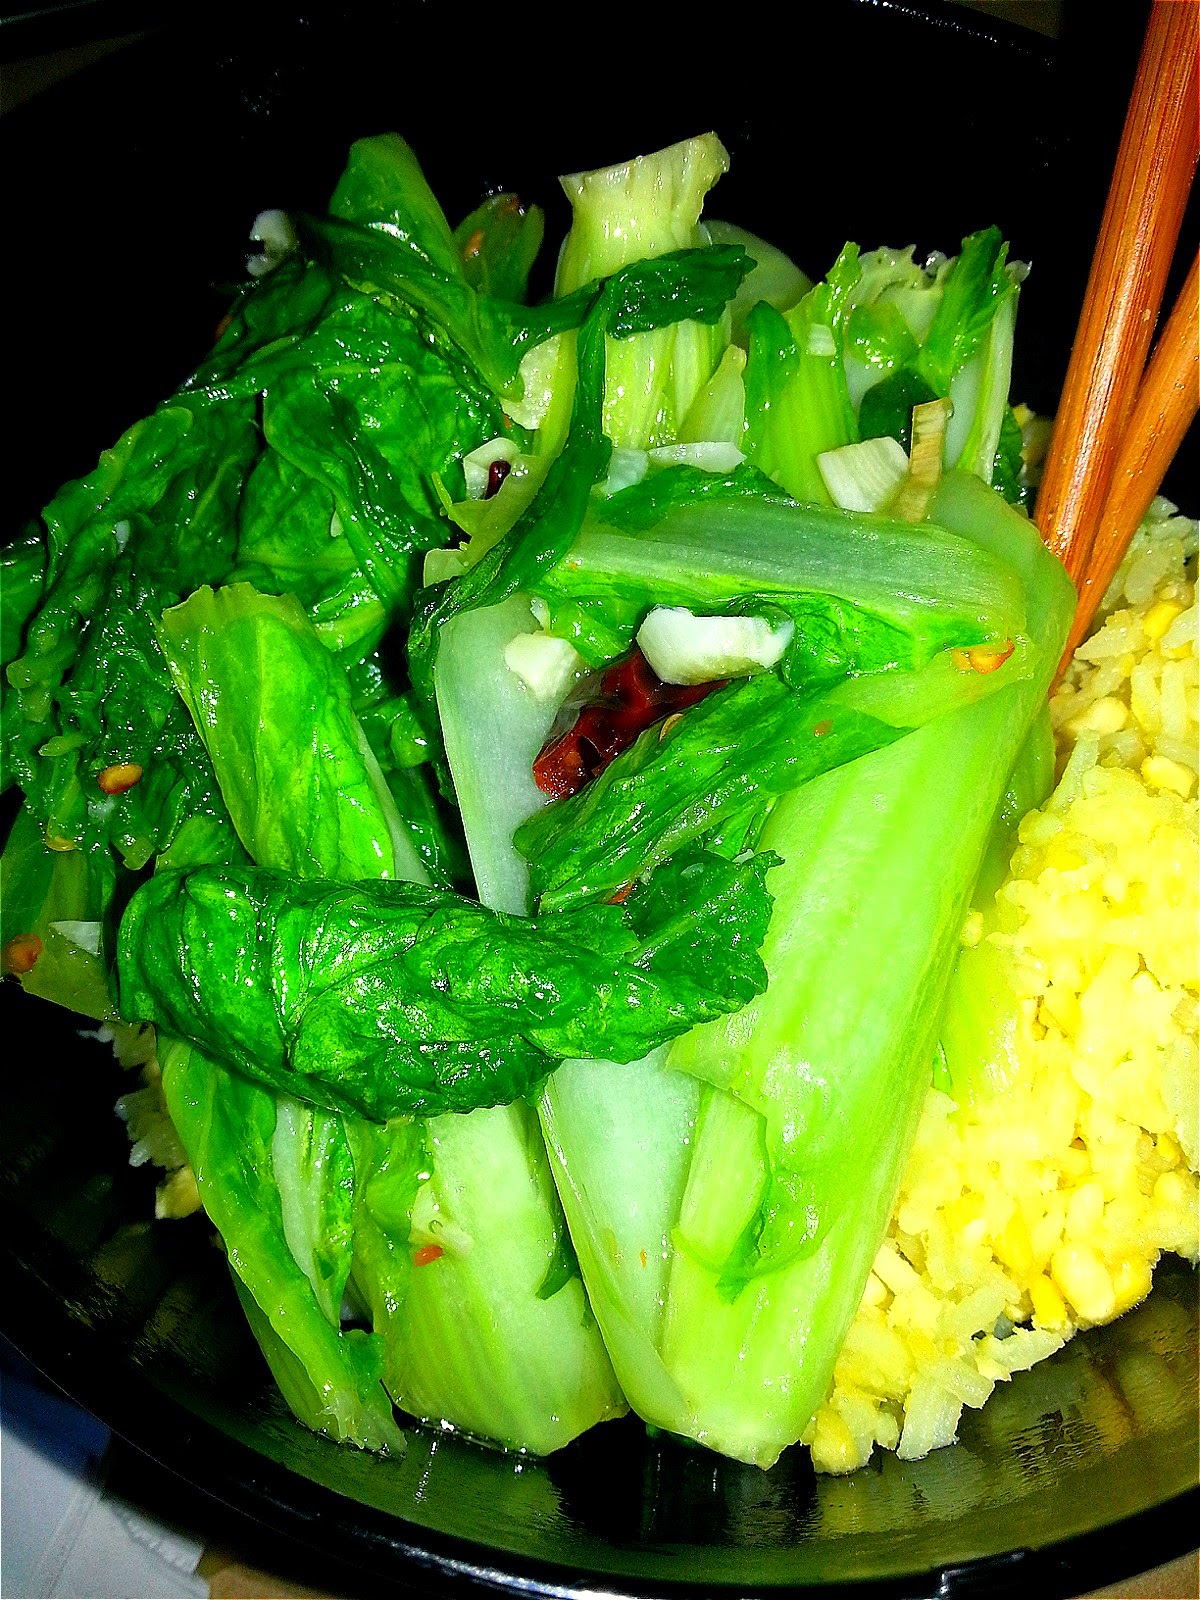
You could fry every kind of leafy vegetable you could find in the supermarket (e.g. spinach, cabbage, or even green bean), vegetable peppers, and all kinds of mushroom. Just use the imagination, which is how Chinese people do, we eat everything because Chinese people could cook everything (in a good way in my chicken, hahahaha) 

Fired water spinach (also known as morning-glory) (the very famous Vietnam dish---Ong Choy)


Fried regular cabbage


Fried green bean with mushroom.


Stay tuned for another Chinese Dish from Nana next week!

Labels:

April 15, 2014

Carrot Vanilla Bean Cheesecake Cake

With Easter just under a week away, let this cake inspire your spring baking spirit! This recipe will impress your family, inspire a new favorite and maybe get your kids (or husbands) to eat some carrots!

Thank you to SSC member Katherine for letting us re-post this from her blog pleasegivepeasachance.blogspot.com!
 

Welcome to the best Carrot Cake post EVER. No really.
Carrot cake. Vanilla bean. Cheesecake. Cake.
Moist carrot cake layers, a layer of creamy vanilla bean cheesecake, smothered in a Cinnamon vanilla bean cream cheese frosting, topped with candied carrot curls. HELLO.
Perfect for any occasion really.
This cake takes some planning to make. There are quite a few steps but the methods themselves are easy. I made two of these carrot cakes, a round and a square. It's a long story, that had to do with not having enough cake pans, and what not. In the end I dropped a layer on the floor and had to toss it, so I had enough extra batter to redeem myself. I guess I just knew I needed that extra batter.

 To find the recipe for the cake and cheesecake follow these links
  Carrot Cake
Vanilla Bean Cheesecake

Frosting and candied carrot curl recipes are at the bottom of this post.

Some notes:

  • Just like the Chocolate Mint Cheesecake Cake, this is cake/cheesecake/cake/frosting. I don't put extra frosting between the layers of cake. 
  • The candied carrot curls on top were easy to make, and I got a great simple syrup for my tea out of it. The recipe for that is below.
  • If you are making this cake and placing the layers in the freezer  in between steps, thaw before serving! It tastes better fully thawed.


Give Peas A Chance Ginger Candied Carrot Curls

3-4 carrots (depending on size)
1 1/2 cups granulated sugar
1 cup water
1 few slices of ginger- fresh or crystallized about one inch rounds (Use a stick of cinnamon to tie in the cinnamon in the frosting and omit the ginger if desired)

  1. Peel the carrots. Then take the peeler and long strips with it.
  2. Put the sugar, water, and ginger in a pot. Bring to a simmer until the sugar is dissolved.
  3. Add carrot slices to the pot, bring to a simmer.
  4. Preheat the oven to 275 degrees.
  5. Simmer for 15 minutes or until the carrots are just pliable and not crisp.
  6. Drain the carrots and ginger. RESERVE the yummy simple syrup.
  7. Line a rimmed baking sheet with parchment paper.
  8. Place the carrots on the parchment paper. Lay them out in a single layer, not touching.
  9. Place them in the oven for about 20-30 minutes.
  10. Take the carrots out of the oven while still pliable, but not wet.
  11. Shape them into curls - I used a chopstick.
  12. Gently slide the carrots off of the chopsticks.
  13. Bake them for another 10-15 minutes until they set.
  14. Cool. Keep these in a dry place. 

Give Peas A Chance BEST Cinnamon Vanilla Bean Frosting

 (I frosted two cakes with this, so keep that in mind)
4 packages of cream cheese, softened
1/2 cup unsalted butter, softened 
2-3 teaspoons vanilla bean paste - or like a tablespoon
2 teaspoons cinnamon
4 cups of sugar (powdered) I may have used 3 1/2 

  1. Beat the cream cheese and butter with a wire whisk attachment on a stand mixer, or use a hand mixer. Beat until light and fluffy with no lumps.
  2. Add vanilla and cinnamon. Beat well.
  3. Slowly add in powdered sugar. Mix well.
*A note about powdered sugar, if your frosting is runny, do NOT add more powdered sugar, that will make things worse. This is why I add a little sugar at a time to check consistency.

_________________________________________________________
Katherine a mother of 3 and the creator of Please Give Peas A Chance, an blog with healthy and easy lunch ideas, desserts, dinners crafts and more!

Labels: ,